For finishing the process, remove the syringe. Afterwards, the pedestal and disc have to be removed using a razor. If there is any front window repair compound still present, then use the razor for cleaning it but do it very carefully so that the glass with not get scratched.
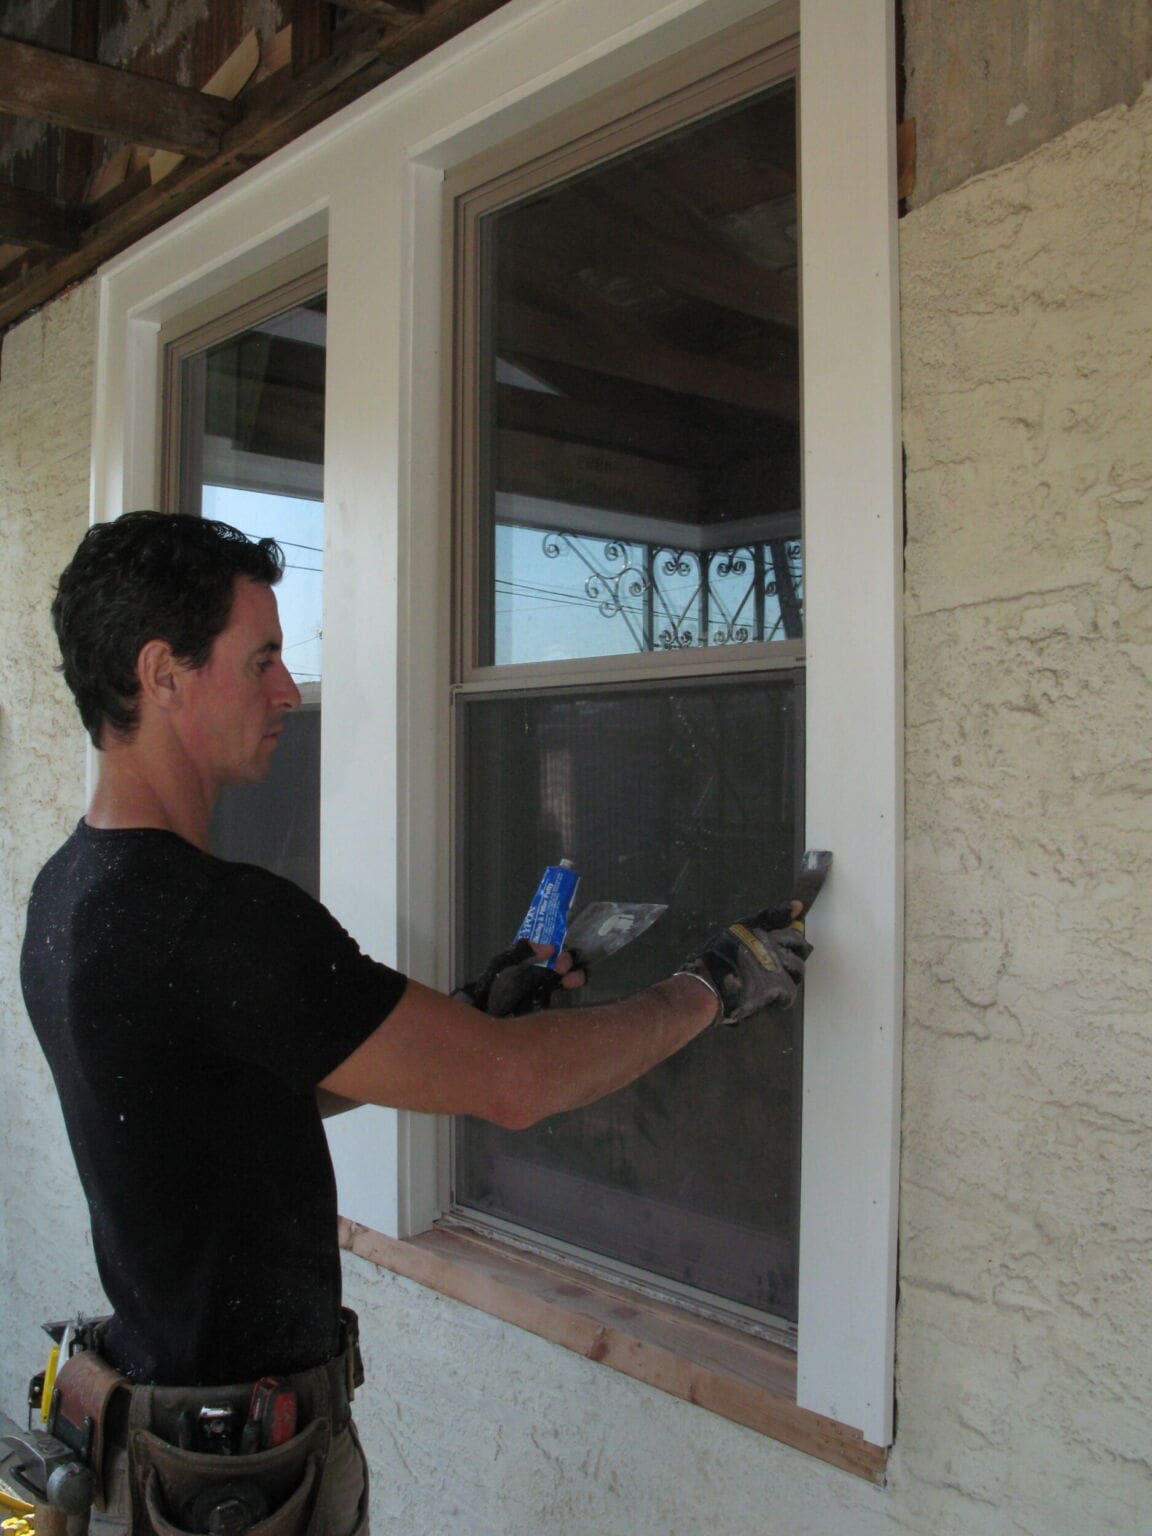
Some technicians might rip you off by suggesting a brand new windshield when in fact all you need is have the crack fixed, so make sure you examine the damage. A small crack of up to six inches long can definitely be repaired. Repairing the crack or chip rather than replacing the whole windshield especially when you can help it is best because it's safe and less expensive. In addition, you can maintain the factory seal of the windshield. Windshield repair can take no more than 30 minutes of labor. If it suspiciously takes longer, be careful because the technician might be tricking you.
Bulls-eye or partial bulls-eye rock chips are some of the most common windshield rock chips that can be fix auto glass. They contain damage that is marked by a separated cone in the outer layer of glass that results in a dark circle with an impact point. A "bulls-eye" rock chip can be repaired if the diameter is no larger than one inch.
If you don't windshield chip repair hear anything at all there may be a loose corroded or broken wire somewhere in the circuit. Start at the fuse box and trace the wire to the window switch. You can do this with a voltmeter or a 12 volt test light. If you have 12 volts going into the switch, but no voltage coming out of the switch when you press the button, the switch is probably faulty. If 12 volts is coming out of the switch, then the problem is either in the wiring from the switch to the window motor or the motor itself.
The syringe cover is to be removed now and the syringe should be pressed with the repair compound into the support rod. Keep twisting till the syringe is in its position.
You will be in good hands with anyone you choose as long as you do the necessary research before you buy. No matter which way you go, getting the job done will take a load of stress off your mind.